Daily digest for The Frugal Girl, on January 31, 2024
Kristen posted: "Zoe loves to build Lego kits, and she didn't have much of a place to store some of her bigger pieces. So, I told her I'd poke around on Facebook Marketplace to see what I could come up with. Eventually, I came across a teal solid wood bookshel" The Frugal GirlRead on blog or Reader
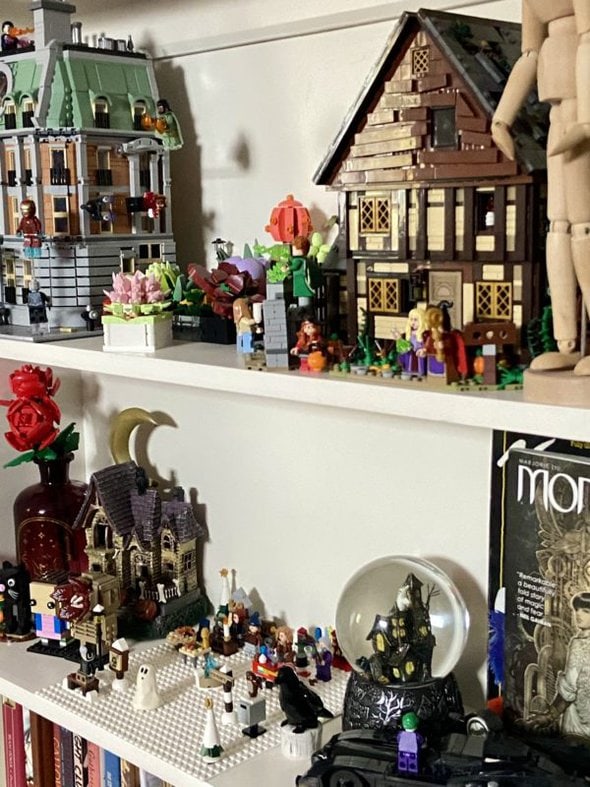
Zoe loves to build Lego kits, and she didn't have much of a place to store some of her bigger pieces.
So, I told her I'd poke around on Facebook Marketplace to see what I could come up with.
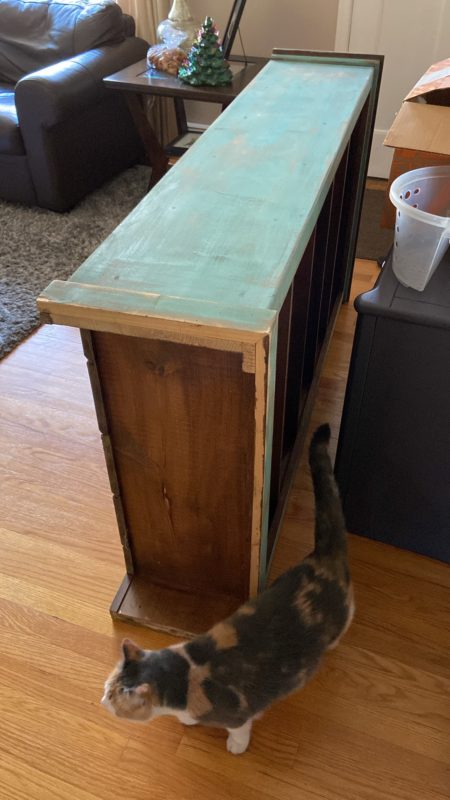
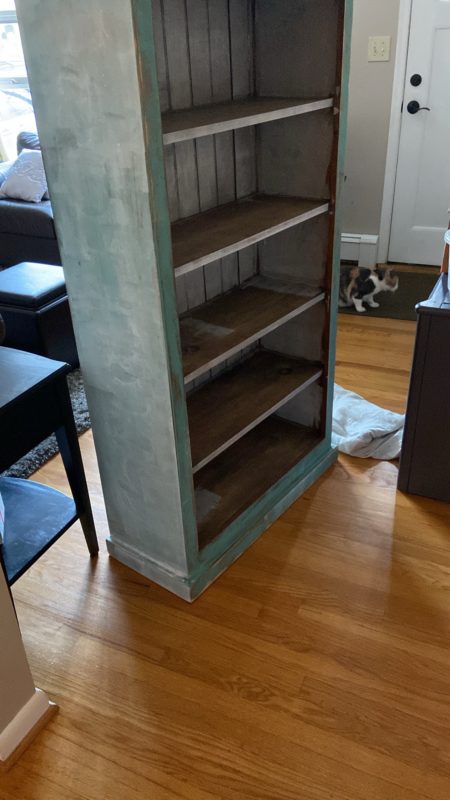
Eventually, I came across a teal solid wood bookshelf for $25, so I went to pick it up.
However, when I got home I was like CRAP! I didn't take into consideration that the shelves were pretty close together, which did not leave enough room for Zoe's taller buildings.
Whoops.
But then I realized something!
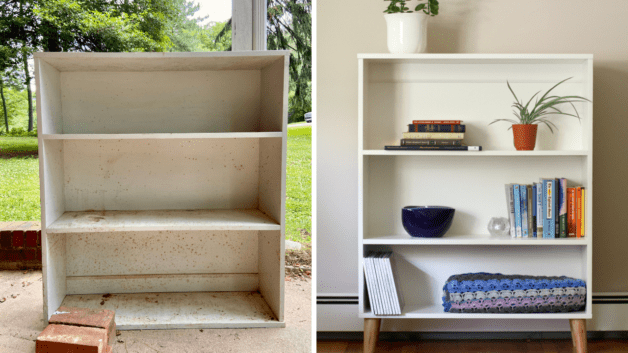
Remember this Buy Nothing bookshelf?
It was a disaster when I got it, and it had so much damage to one shelf, I had to turn the whole thing upside down.
When it was finished, I put it into our downstairs den, where it held books and some games/movies.
Anyway, I realized that since it's upside down, the top two shelves are pretty tall and perfect for Legos.
So, I decided to swap the two bookshelves!
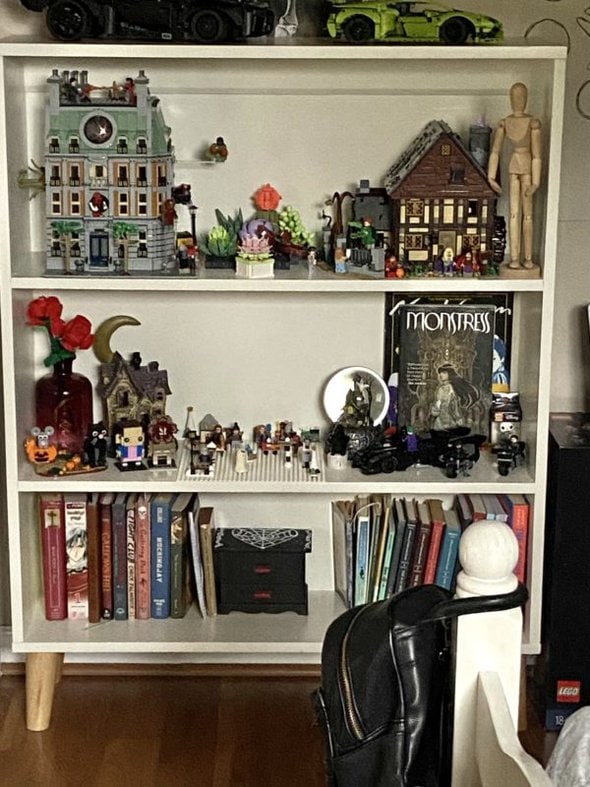
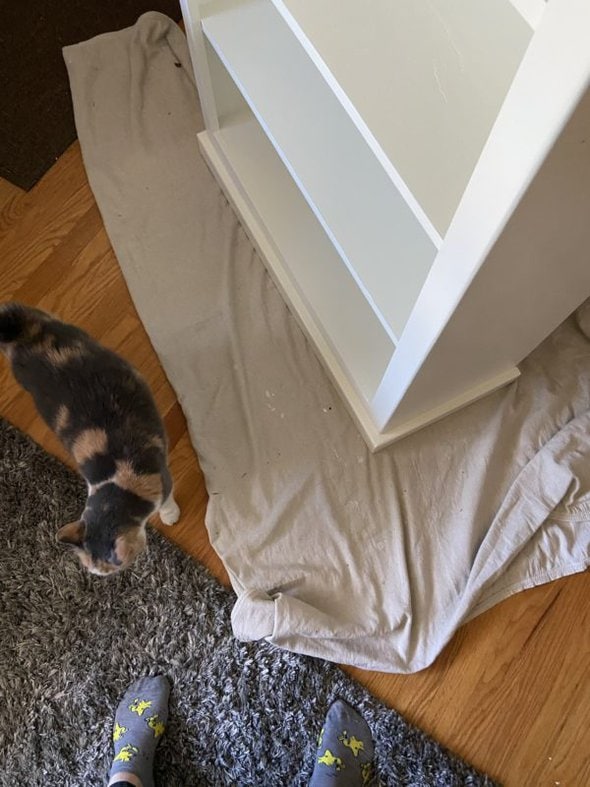
I moved the shelf with legs into Zoe's room, where she promptly filled it with all of her things.
You can see a bed post in the lower right corner 🙂
Anyway! Back to the teal bookshelf.
I almost just put it into the downstairs den as-is, but then I thought, nah, I'll fix it up, and that way if I end up wanting to sell it down the road, it'll be worth more than I paid for it.
Plus I wasn't really digging the teal.
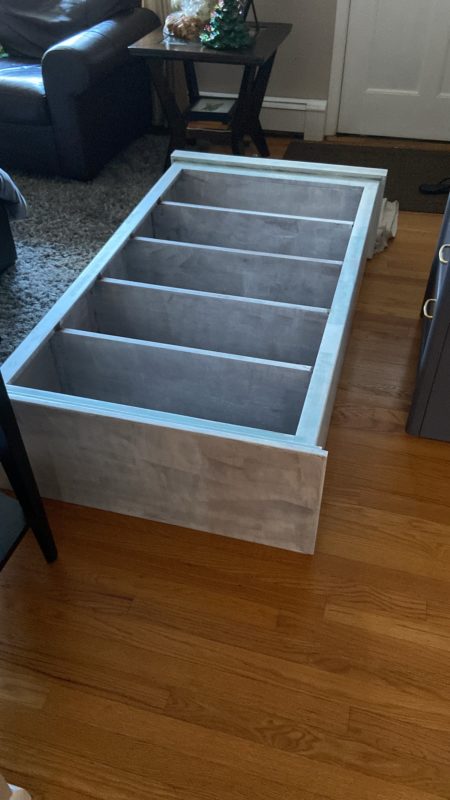
So I scuff-sanded it, just to remove the top bit of finish, and then I hauled it inside. Because it was toooo cold to paint outside (paint prefers more temperate temperatures. 😉 )
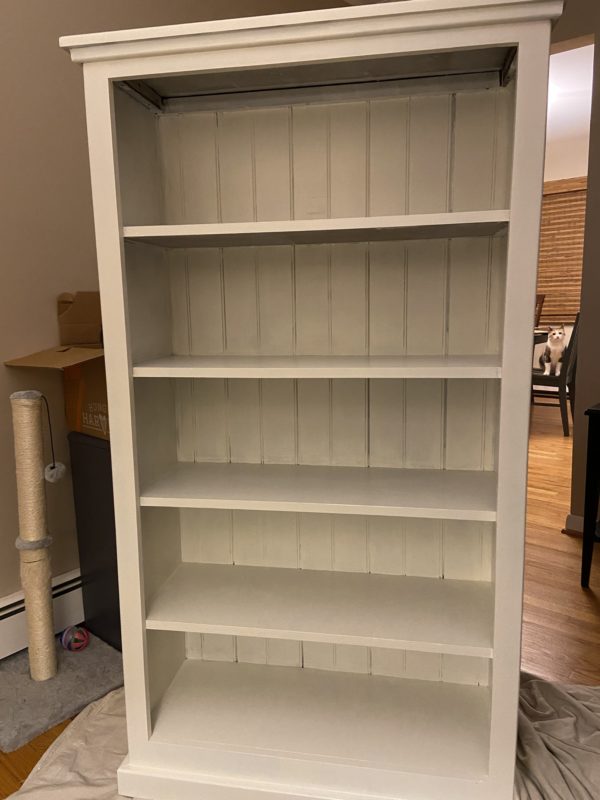
I primed it...
I did use a drop cloth!
And then I began the laborious process of painting it.
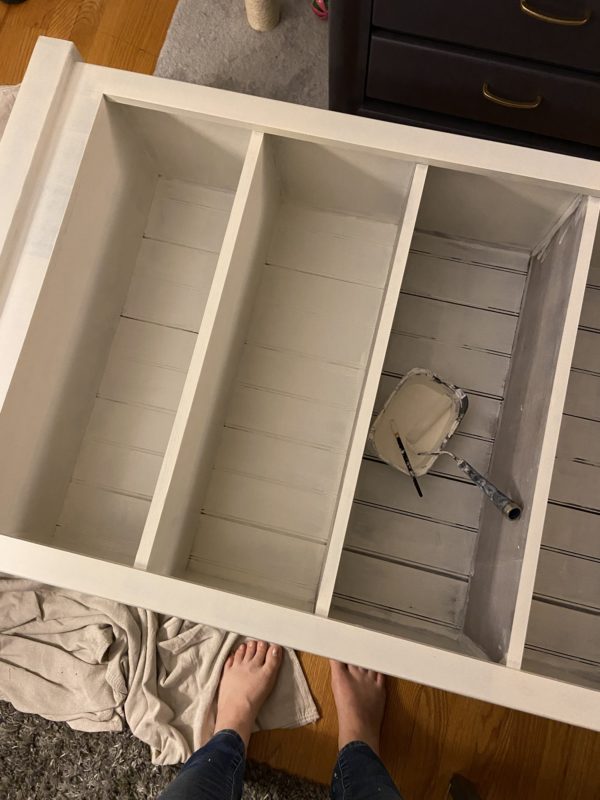
Bookshelves have SO much surface area, they take a long time to paint.
You start to think you're getting close and then you're like, "Ohhhh wait, the bottom of the shelves!"
And this one had those annoying grooves on the back. That took a lot of careful painting, plus plenty of caulking.
See how those grooves look dark?
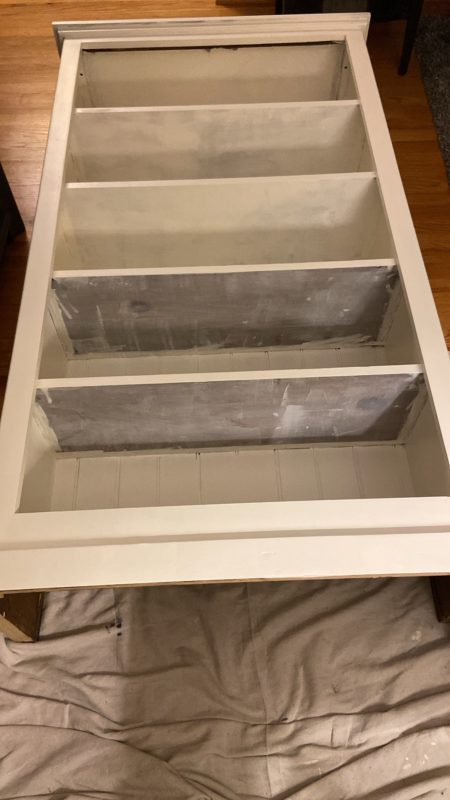
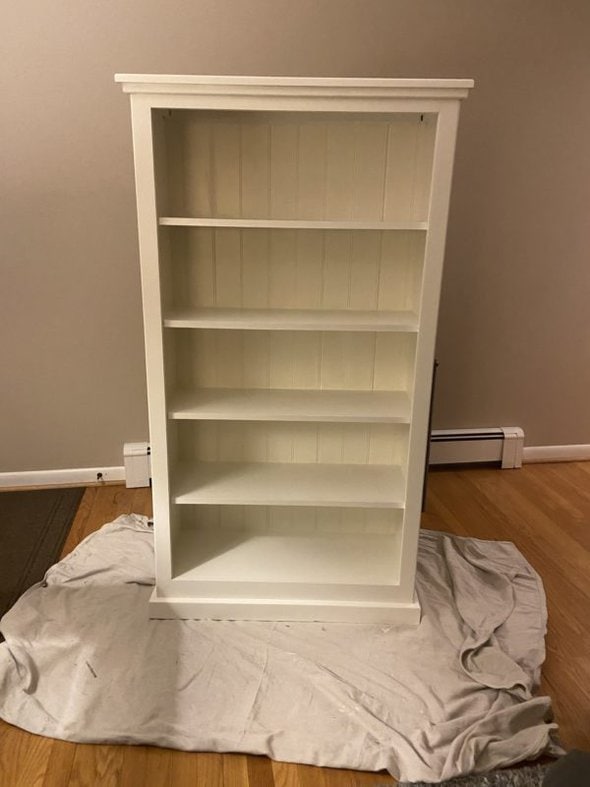
Now we're getting closer!
I finished painting the shelf shortly before we left for Hawaii, so Zoe and I moved it downstairs and let it cure while we were away.
For things like dressers, I worry less about curing...most of the painted surface of a dresser gets left alone.
But it's easy to mess up a bookshelf finish by putting heavy stuff on the paint before it's reached maximum hardness, so I always err on the side of caution!
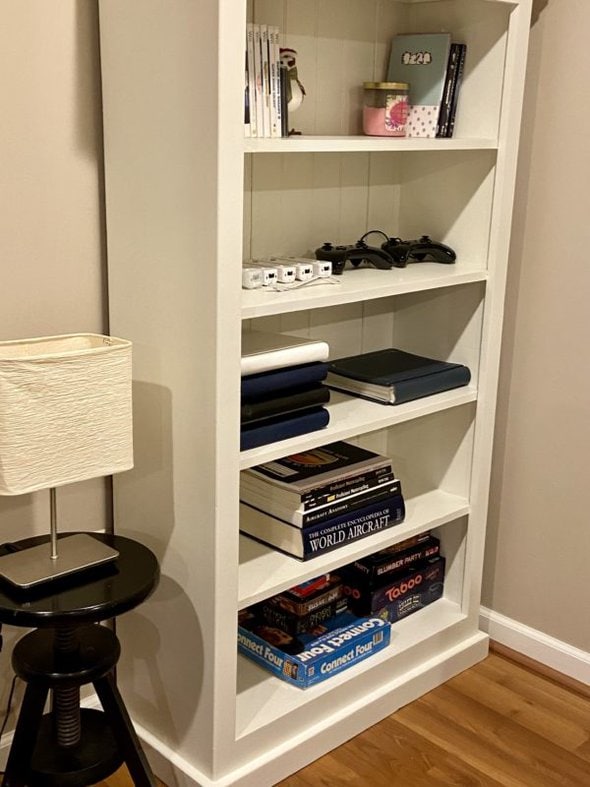
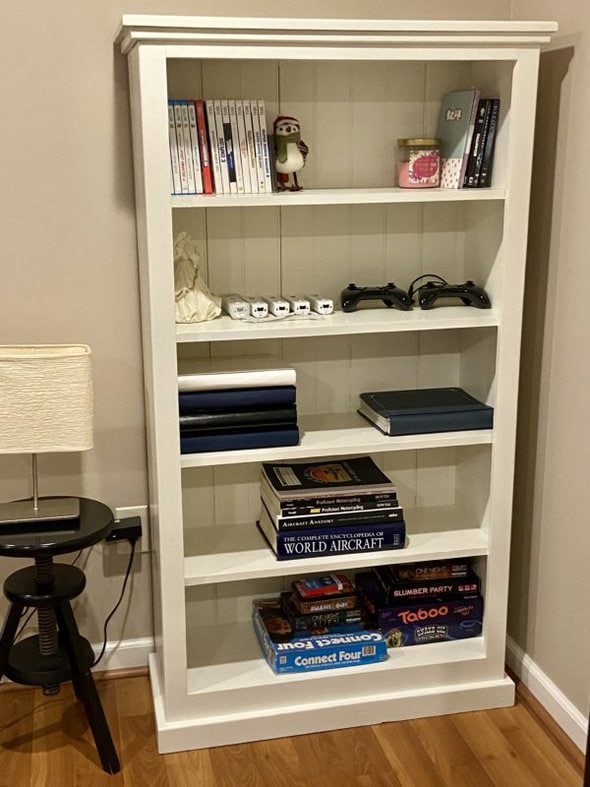
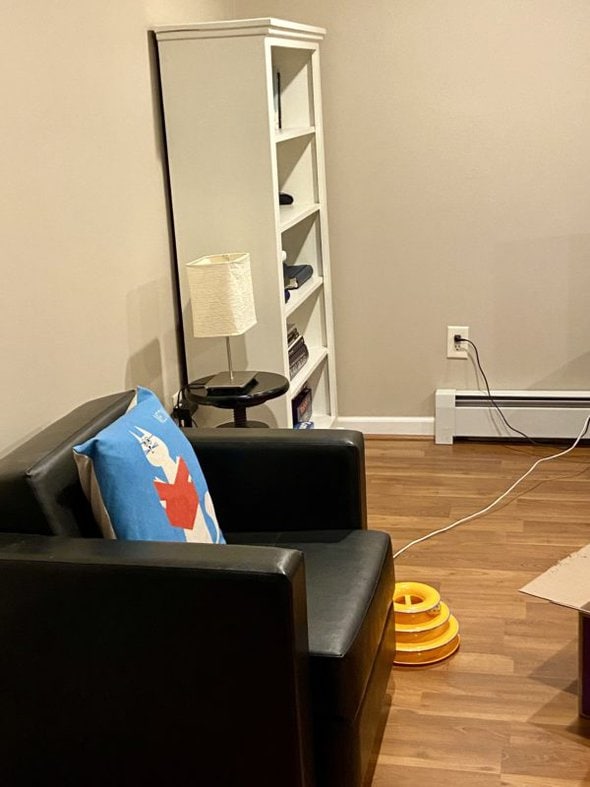
It was all good by the time we came back home, so now it's holding our miscellaneous stuff downstairs.
That room has zero windows, so the pictures are a little dark. Sorry!
Incidentally, the little stool next to the bookshelf is from my Buy Nothing group.
And the lamp was an extra that got thrown in with some that I bought from Facebook Marketplace.
Ooh, also that black chair is free from Facebook Marketplace.
It's pretty amazing what you can get for cheap/free. 🙂
I had all the supplies for this project on hand, aside from a $4 tube of caulk, so in total, I spent $25.
There is no way I could have gotten a new Lego shelf for Zoe for anything close to $25. And even if I had, it wouldn't have been solid wood, and it wouldn't have perfectly matched her other bedroom furniture.
Of course, there's an investment of time, but I just put my earbuds in and listened to the nursing textbook chapters that were assigned over winter break. So I don't even really look at it as lost time!
And as I mentioned, if the next place I move to doesn't have space for this bookshelf, I can always sell it for a good bit more than I paid for it. That's the beauty of buying used!


No comments:
Post a Comment